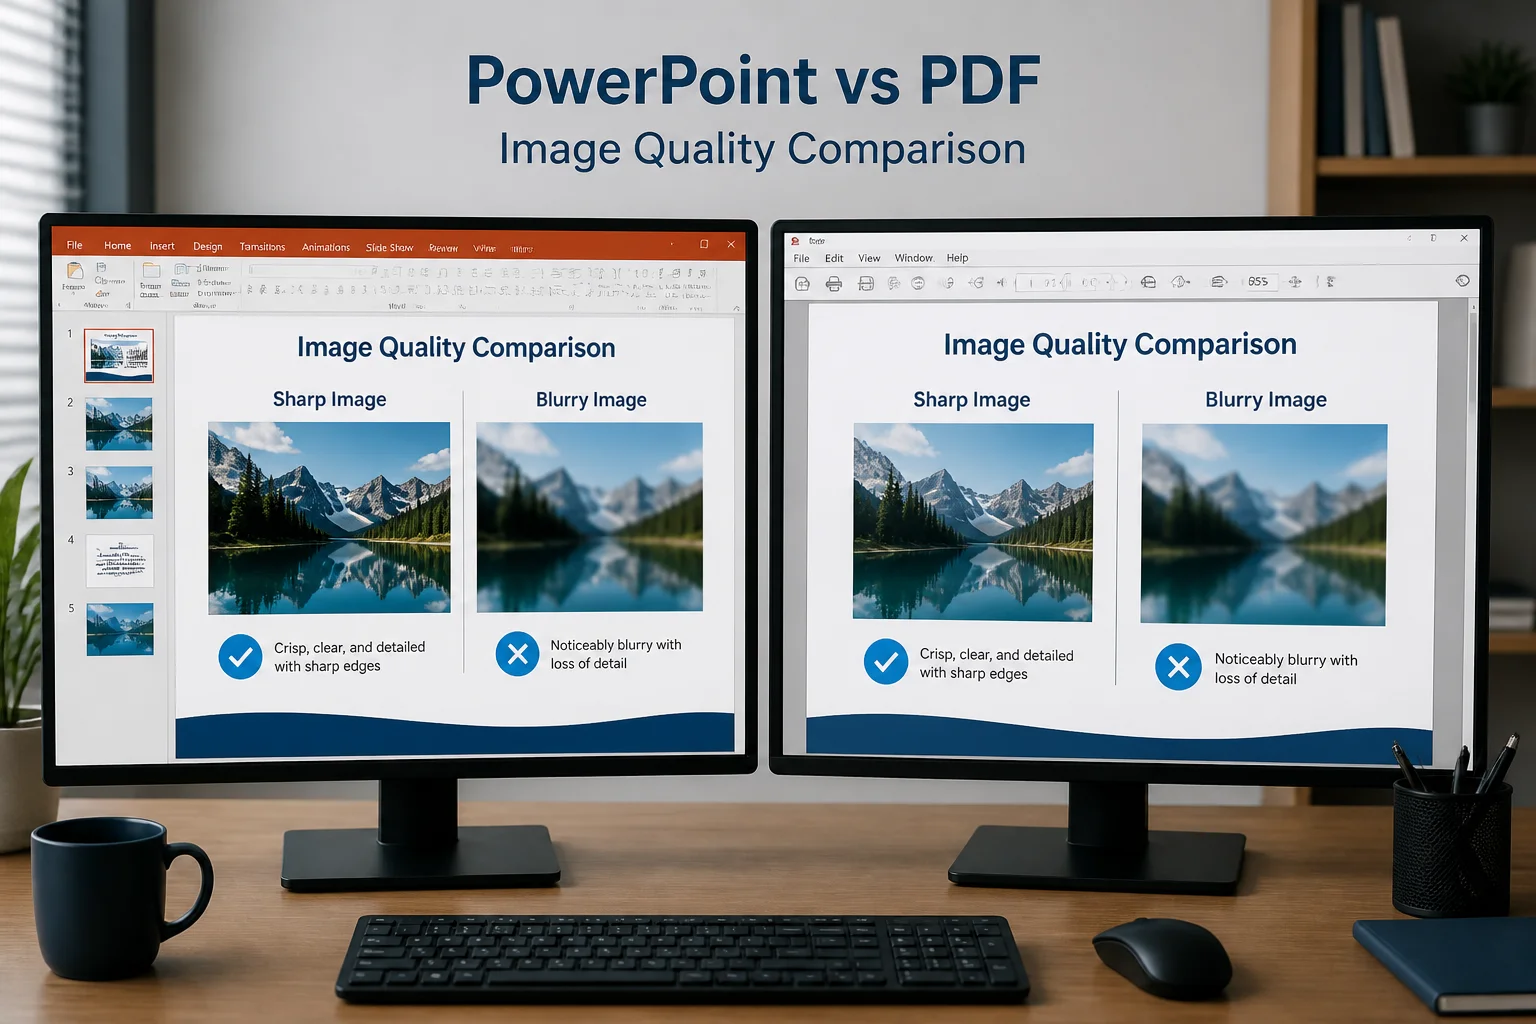
If your PowerPoint PDF has blurry images, the problem usually starts before the PDF is created. A low-resolution picture, an image enlarged beyond its original size, PowerPoint compression, or an unsuitable export method can all reduce sharpness.
To prevent blurry images, use a high-resolution source image, insert it at a reasonable size, disable unnecessary picture compression, export using PowerPoint’s standard or high-quality PDF option, and inspect the finished PDF at 100% zoom. If the original slide image is already soft, changing the PDF settings cannot restore detail that is not there.
Why images become blurry in a PowerPoint PDF

Several different problems can produce a similar result. Identifying the cause helps you choose the right fix instead of simply increasing file size.
The original image has too few pixels
Every digital image contains a fixed number of pixels. When a small image is stretched across a large portion of a slide, PowerPoint has to enlarge those pixels. The result can look soft or pixelated in the presentation and in the exported PDF.
For example, a small image downloaded from a website may look acceptable as a thumbnail but become blurry when used as a full-slide background. Screenshots, social-media images, and images copied from messaging apps are especially likely to have limited resolution.
The picture was enlarged too much
Even a reasonably clear image can become blurry if it is displayed much larger than its native dimensions. The important comparison is not only the image’s file size but also its pixel dimensions and the physical size at which it appears on the slide.
PowerPoint compressed the image
PowerPoint can compress pictures to reduce presentation size. This may be useful for sharing a large presentation, but aggressive compression can remove fine detail. Repeated editing and saving can also make it harder to tell whether the original image or a compressed copy is being used.
The PDF was exported with a lower-quality option
Some workflows use a screen, email, or minimum-size setting rather than a print or standard-quality setting. These choices may apply stronger compression or reduce image resolution. A PDF can therefore look worse than the source presentation even when the original pictures were clear.
The PDF viewer is displaying the page at an unusual zoom
A PDF may appear soft at a particular zoom level because the viewer is resampling the page on screen. Check the document at 100% and, if possible, compare it with the original slide. Also distinguish blurry raster images from vector elements such as text, shapes, and many charts, which should remain sharp when zoomed.
Use a high-resolution source image
The most effective solution is to start with a suitable image. Find the original photograph, diagram, logo, or screenshot instead of saving a preview image from a website.
- Use the original file rather than a thumbnail or compressed preview.
- Choose images with enough pixel dimensions for the size they will occupy on the slide.
- For photographs, use a clean JPEG or PNG from a reliable source.
- For logos, icons, and diagrams, use a vector version when available.
- Avoid repeatedly downloading, copying, and re-saving the same image.
For a presentation that will be printed, use a larger source image than you would need for a small on-screen thumbnail. The exact requirement depends on the image’s final physical size, the printer, and how closely the page will be viewed.
Do not enlarge small images beyond their useful size
PowerPoint lets you drag an image to almost any size, but that does not create new detail. If a picture becomes soft after enlargement, reduce its displayed size or replace it with a higher-resolution version.
To check an image, compare its appearance at the intended slide size. A picture that looks sharp when small may become visibly pixelated when stretched to fill the slide. If it is being used as a background, select an image with dimensions suitable for the entire slide rather than adapting a small portrait or web image.
Turn off unnecessary picture compression
PowerPoint’s picture-compression controls vary by desktop version, but they are generally found in the picture formatting tools or in the application’s advanced save settings.
Look for options similar to these:
- Delete cropped areas of pictures: Leave this disabled if you may need to restore cropped content or want to avoid permanently removing image data.
- Do not compress images in file: Enable this when preserving the best available image quality is more important than keeping the PPTX small.
- Default resolution: Choose the highest practical resolution offered by your version of PowerPoint.
After changing these settings, replace severely degraded images with the original files if necessary. Turning off compression cannot recover detail that was already removed from a previously compressed picture.
Crop images instead of stretching them
Stretching an image to fit a slide can distort its proportions and expose softness. Use PowerPoint’s crop tools to remove unwanted edges while preserving the image’s aspect ratio.
A useful workflow is to decide the shape of the image area first, then crop the picture to fit that area. Avoid pulling only one side or corner unless you are intentionally changing the image’s proportions. Correct cropping produces a cleaner result and usually requires less enlargement than forcing the entire original image into an incompatible shape.
Choose the right image format
Different image types suit different content:
- Photographs: JPEG is often practical, provided it has not been saved repeatedly at very low quality.
- Transparency or simple graphics: PNG can preserve crisp edges and transparent backgrounds.
- Logos, line art, and diagrams: A vector format is preferable when PowerPoint and the export workflow support it.
Do not convert every image to PNG automatically. A large PNG photograph can make the presentation unnecessarily heavy without improving visible quality. Instead, match the format to the content and use a clean source file.
Export the presentation using a quality-focused PDF option
When saving or exporting from PowerPoint, select the option intended for standard or print quality rather than the smallest-file-size option. The labels differ between versions, but the general choice is to prioritize quality over minimum size.
- Finish editing the presentation and save the PPTX.
- Open the export or Save As PDF workflow.
- Choose the standard, high-quality, or print-oriented option when available.
- Check any image or bitmap-resolution settings offered by the export dialog.
- Save the PDF to a new file so you can compare it with the original.
A print-oriented setting may create a larger PDF. That is expected: retaining more image information generally requires more storage. If the PDF is intended only for quick online viewing, you can test a smaller setting, but inspect the result before sharing it.
Check the PDF after exporting
Do not judge the file only from a tiny preview or a slide thumbnail. Open the PDF and inspect representative pages.
- View image-heavy slides at 100% zoom.
- Check photographs, screenshots, logos, and charts separately.
- Inspect thin lines and small labels for unwanted softness.
- Compare the PDF with the original PowerPoint at the same apparent size.
- Print one test page if the document will be printed.
If only one image is blurry, replace or resize that image. If every image is blurry, review the compression and export settings. If images look sharp at 100% but soft at a particular zoom level, try another PDF viewer or zoom setting before changing the presentation.
What to do when the PDF is still blurry
Replace the image rather than trying to sharpen it
Sharpening tools can make edges appear more pronounced, but they cannot recreate missing detail. Find a larger or original version of the image whenever possible.
Check whether the problem is limited to screenshots
Screenshots are often captured at the size shown on screen. If enlarged on a slide, text inside the screenshot may become difficult to read. Capture the content at a larger scale or recreate it with editable PowerPoint text and shapes.
Keep charts and text editable when practical
Exporting a chart or block of text as a low-resolution image can make it look worse than the original editable object. When possible, build charts with PowerPoint tools and keep text as text. This generally gives the PDF export more information to preserve than a small screenshot.
Check for a second conversion step
Converting a PPTX to PDF and then converting that PDF to images, recompressing it, or sending it through another document service can introduce additional quality loss. Use one clean export whenever possible, and avoid repeatedly re-saving the resulting PDF through tools that optimize file size.
Should you use a PPTX-to-PDF converter?
An online converter can be useful when PowerPoint is unavailable or when you need a straightforward way to create a PDF. You can learn more in this guide to converting PowerPoint to PDF without PowerPoint.
However, the quality of the final PDF still depends on the source presentation and the converter’s processing. Before relying on the file, open the result and inspect image-heavy slides. If you are comparing workflows, you can also review the guide to converting PPTX to PDF online.
For presentations containing confidential or sensitive material, review the service’s policies and terms before uploading files. You can read the site’s Privacy Policy for more information.
Quick checklist for sharp PowerPoint PDF images
- Start with the original, highest-quality image available.
- Do not enlarge a small image to fill a slide.
- Crop instead of stretching or distorting proportions.
- Use vector artwork for logos and line-based graphics when available.
- Disable unnecessary PowerPoint picture compression.
- Choose a standard, high-quality, or print-oriented PDF export option.
- Avoid converting and recompressing the file multiple times.
- Inspect the finished PDF at 100% zoom.
- Print a test page if print quality matters.
The key is to treat image quality as a process rather than a final PDF setting. A suitable source image, sensible slide sizing, limited compression, and a careful export check will prevent most blurry-image problems before the PDF is shared.
Related: How to Choose Between Standard, Minimum, and High-Quality PowerPoint PDF Export
Related: PowerPoint PDF vs Images: Which Is Better for Sharing and Printing?
1 thought on “How to Prevent Blurry Images in a PowerPoint PDF”