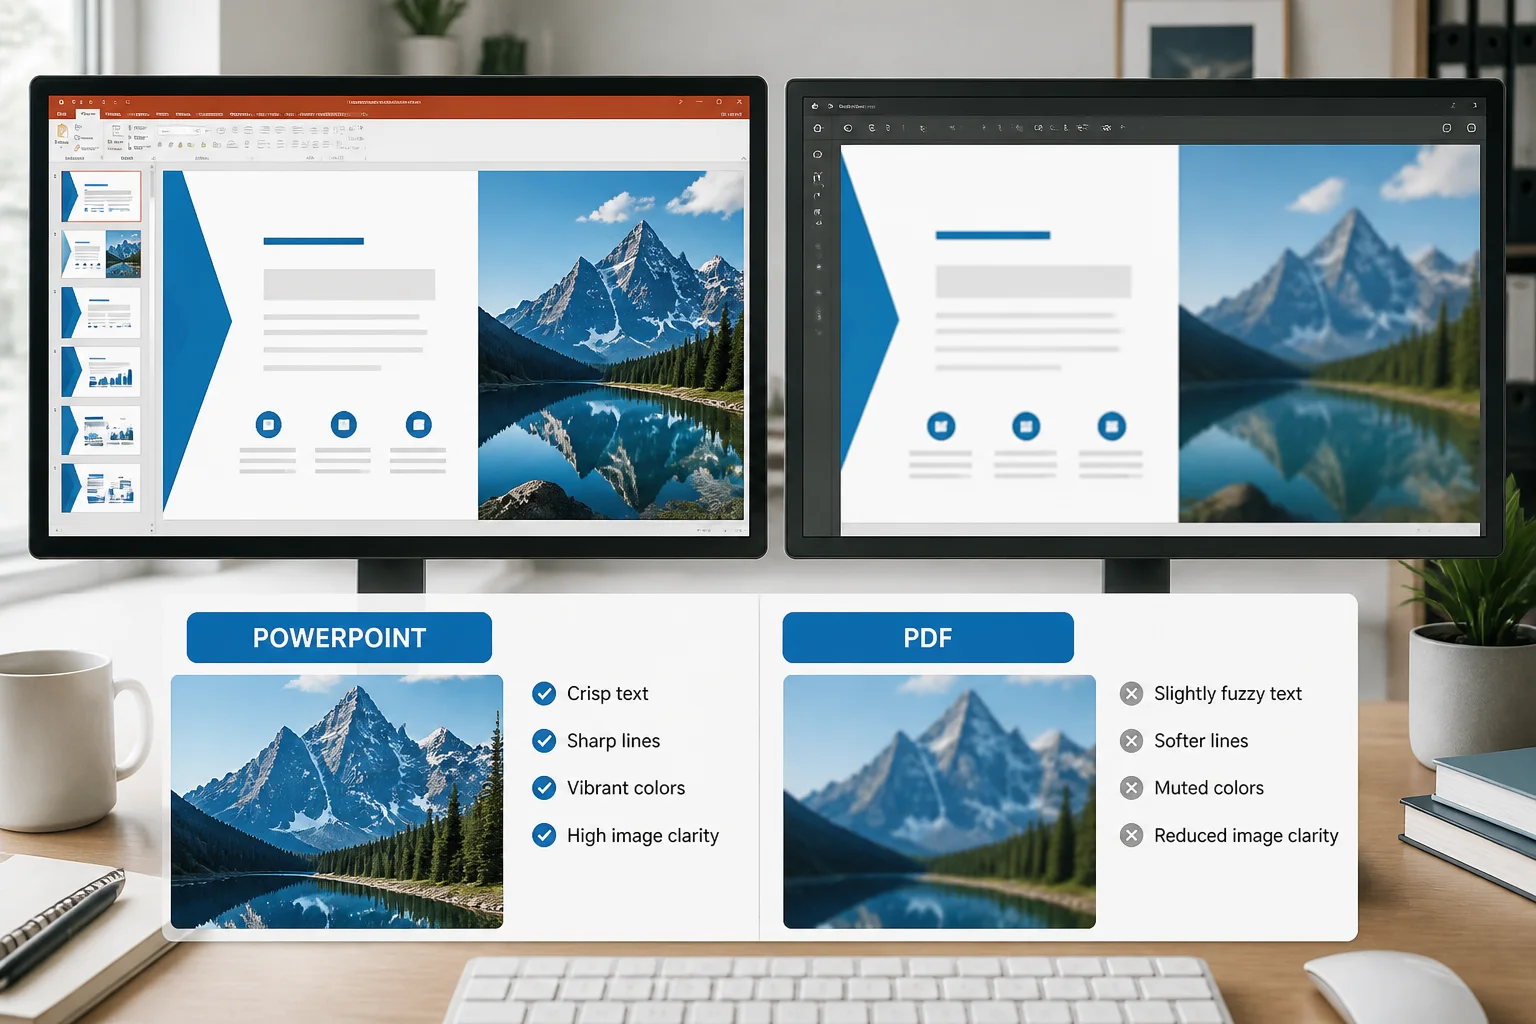
When images look sharp in PowerPoint but blurry in the PDF, the problem is usually not the PDF format itself. More often, the original image is too small, PowerPoint has compressed it, the image has been enlarged beyond its useful resolution, or the presentation was converted using a lower-quality export path.
To improve PowerPoint to PDF image quality, start with a sufficiently large source image, avoid repeated resizing, turn off unnecessary image compression in PowerPoint, choose a high-quality PDF export option, and inspect the finished PDF at the size where people will actually view or print it.
Why images become blurry after PPTX to PDF conversion
Several stages can affect image quality:
- Source resolution: A small image cannot become genuinely sharp simply by placing it on a large slide.
- PowerPoint compression: PowerPoint may reduce image resolution or apply JPEG compression to keep the presentation smaller.
- Overscaling: Enlarging an image beyond its original dimensions makes pixels more visible.
- Export settings: Some PDF options prioritize smaller files over print or presentation quality.
- Conversion tools: Different applications may interpret images, transparency, fonts, and effects differently.
- Viewer zoom: A PDF can look soft at extreme zoom even when it is acceptable at normal viewing size.
The key distinction is between raster images, such as photographs and screenshots, and vector artwork, such as many icons, diagrams, and shapes. Raster images depend on pixel dimensions. Vector artwork can usually scale without becoming pixelated, although its appearance can still change during conversion.

Use a large enough source image
The most important step is to use an image with enough pixels for the size it occupies on the slide. A photograph that looks excellent as a small thumbnail may become soft when stretched across half or all of a slide.
For example, if an image is 1,200 pixels wide and is displayed at 12 inches wide, it has an effective resolution of about 100 pixels per inch. If the same image is displayed at 4 inches wide, it has about 300 pixels per inch and will generally appear much sharper.
You do not need to calculate this for every image, but the principle is useful: the larger the image appears on the slide, the more pixels the original file should contain.
Practical source-image checks
- Use the original photograph instead of a screenshot of that photograph.
- Download images at their intended display size rather than using a tiny web preview.
- Avoid repeatedly saving and reusing JPEG files, especially after heavy editing.
- Do not enlarge a small image just to fill a slide unless softness is acceptable.
- For logos, diagrams, and line art, use a vector version when available.
If a source image is already pixelated in PowerPoint at 100% zoom, changing the PDF converter will not restore the missing detail. Replace the image first.
Prevent PowerPoint from reducing image quality
PowerPoint can compress pictures in a presentation. This is useful when file size matters, but it can reduce detail before the PDF export even begins. The exact menu names can vary by PowerPoint version, but the relevant controls are generally found in the application’s advanced or image-size settings.
- Open the PowerPoint presentation.
- Go to PowerPoint’s options or preferences.
- Find the advanced settings for image size and quality.
- Choose the presentation or document you are editing, if that option is available.
- Enable the setting that prevents images from being compressed.
- Set the default resolution to the highest suitable option available for your purpose.
- Save the presentation before exporting it again.
In some versions, image compression can also be controlled when selecting Compress Pictures from the picture-formatting tools. If you use that command, check the selected resolution and avoid applying compression when preserving detail is more important than reducing file size.
These settings cannot improve an image that was already imported at low resolution. They only help prevent additional quality loss.
Resize images carefully on the slide
Resizing is not automatically harmful, but enlarging a raster image too far is. If you need an image to cover a large area, crop it instead of stretching it disproportionately or filling the space with a small file.
Keep the image’s aspect ratio locked while resizing. An image that is stretched horizontally or vertically may look distorted even if its resolution is adequate. Use PowerPoint’s crop tools to control framing without changing the subject’s proportions.
For important images, compare these two approaches:
- Stretching: Makes a small image fill the slide and often reveals blur or pixelation.
- Crop and fit: Uses the available pixels more effectively while preserving proportions.
Also avoid enlarging a screenshot containing text. Screenshots often contain fine characters that become unreadable when scaled. If possible, recreate the text with PowerPoint text boxes or use a higher-resolution capture.
Choose the highest-quality PDF export option
When exporting directly from PowerPoint, look for a quality option such as Standard, High quality, or Print. Avoid an option intended primarily for minimum file size when image clarity is important.
A reliable workflow is:
- Finish editing the presentation before exporting.
- Save a copy of the PPTX file.
- Use PowerPoint’s PDF export or save-as-PDF function.
- Select the quality setting intended for printing or standard quality rather than minimum size.
- Open the exported PDF in a desktop PDF viewer.
- Compare several image-heavy slides with the original presentation.
Do not judge the result only from a thumbnail or a browser preview. Browser viewers may render a page differently at different zoom levels. Check the PDF at normal reading size and, when relevant, at the size used for printing.
When converting PPTX online, prepare the file first
An online converter can be useful when PowerPoint is unavailable or when you need a straightforward way to create a PDF. Before uploading a presentation, however, make the quality decisions in the PPTX itself:
- Replace low-resolution images.
- Remove unnecessary image compression.
- Check that images are not oversized.
- Save the final presentation.
- Use the resulting PDF only after reviewing its important pages.
For a broader walkthrough, see how to convert PPTX to PDF online. If you do not have PowerPoint installed, the guide to converting PowerPoint to PDF without PowerPoint may also help you choose a workflow.
Before using any online file service, review its published policies and upload only files you are permitted to process. You can read the site’s Privacy Policy for information about its stated handling practices.
Use the right format for different kinds of images
The source format affects how much detail survives editing and conversion.
| Image type | Usually suitable source | Important consideration |
|---|---|---|
| Photographs | High-quality JPEG or PNG | Avoid repeated compression and very small originals. |
| Logos and icons | SVG or another vector format when supported | Vector artwork stays sharp when scaled. |
| Screenshots | PNG for text-heavy screenshots | Capture at a size that matches the intended display. |
| Charts and diagrams | Editable PowerPoint shapes or vector artwork | Rebuilding small text is better than enlarging a blurry screenshot. |
PNG is often a good choice for screenshots, interface captures, and images with sharp text or flat-color edges. JPEG can be appropriate for photographs, but aggressive JPEG compression can create blocks and fuzzy edges.
Keep charts, text, and line art crisp
Charts and diagrams often look blurry because they were inserted as screenshots rather than created as editable objects. If a chart contains labels, recreate it in PowerPoint when practical. Editable text and shapes usually render more cleanly than a low-resolution screenshot of the same content.
The same applies to small labels inside an image. If the audience must read the label, consider placing that information as live text outside the image or use a larger, clearer source graphic.
Thin lines can also disappear or look uneven in a PDF, especially when printed. Use a line weight that remains visible at the final slide size and inspect the exported page rather than assuming every fine detail will reproduce perfectly.
Check transparency, shadows, and image effects
Picture transparency, soft edges, shadows, glows, and artistic effects can be processed differently during PDF export. These effects may not make the image itself lower resolution, but they can produce unexpected edges, halos, or a softer appearance.
For a presentation that must reproduce reliably:
- Use effects sparingly on important images.
- Inspect transparent PNGs against the final slide background.
- Check shadows and glows after export.
- Flatten complicated artwork only when you have verified the result at the intended size.
If one slide contains an unusual combination of transparency and effects, test that slide separately before exporting the entire presentation.
How to tell whether the PDF is genuinely low quality
A PDF may look blurry for reasons unrelated to the exported image data. Use this checklist:
- Open the PDF in a full desktop viewer rather than relying only on a browser preview.
- View the page at approximately its normal reading or presentation size.
- Zoom in on a photograph, a screenshot, and any small text.
- Compare the same slide in PowerPoint and in the PDF.
- Print one representative page if the final document will be printed.
- Check whether blur appears everywhere or only in selected images.
If every image is soft, review export quality and compression settings. If only one or two images are affected, inspect their original dimensions, format, and applied effects.
What to do when the PDF is still blurry
Work through the problem in this order:
- Replace the original: Insert a higher-resolution image or a vector version.
- Undo excessive scaling: Make the image smaller or crop it differently.
- Review compression: Disable unnecessary PowerPoint image compression.
- Export again: Select a standard, high-quality, or print-oriented PDF setting.
- Try a different workflow: If one application produces poor results, compare it with PowerPoint’s native PDF export or another trusted conversion method.
- Inspect the PDF itself: Confirm that the issue is visible at normal size and not just at extreme zoom.
Keep the original PPTX and the exported PDF so you can compare revisions. Changing several things at once makes it harder to identify the actual cause.
A practical pre-export checklist
- Are the original images large enough for the space they occupy?
- Have you avoided stretching small images across a slide?
- Are important screenshots and text-heavy graphics high resolution?
- Is PowerPoint set to preserve image quality?
- Are photographs saved with reasonable quality?
- Are logos and diagrams available as vector artwork?
- Have you selected a high-quality PDF export option?
- Did you inspect the final PDF at normal viewing size?
- Did you test a printed page if printing matters?
The most dependable way to keep images sharp is to protect quality at every stage: begin with a suitable source, avoid unnecessary compression, size images carefully, export with the appropriate quality setting, and verify the finished PDF. If you need a different output for sharing or quick image extraction, you can also review the site’s PPTX to JPG converter guide, but remember that converting slides to JPG creates rasterized pages and is not usually the best choice when you need selectable text or maximum editing flexibility.