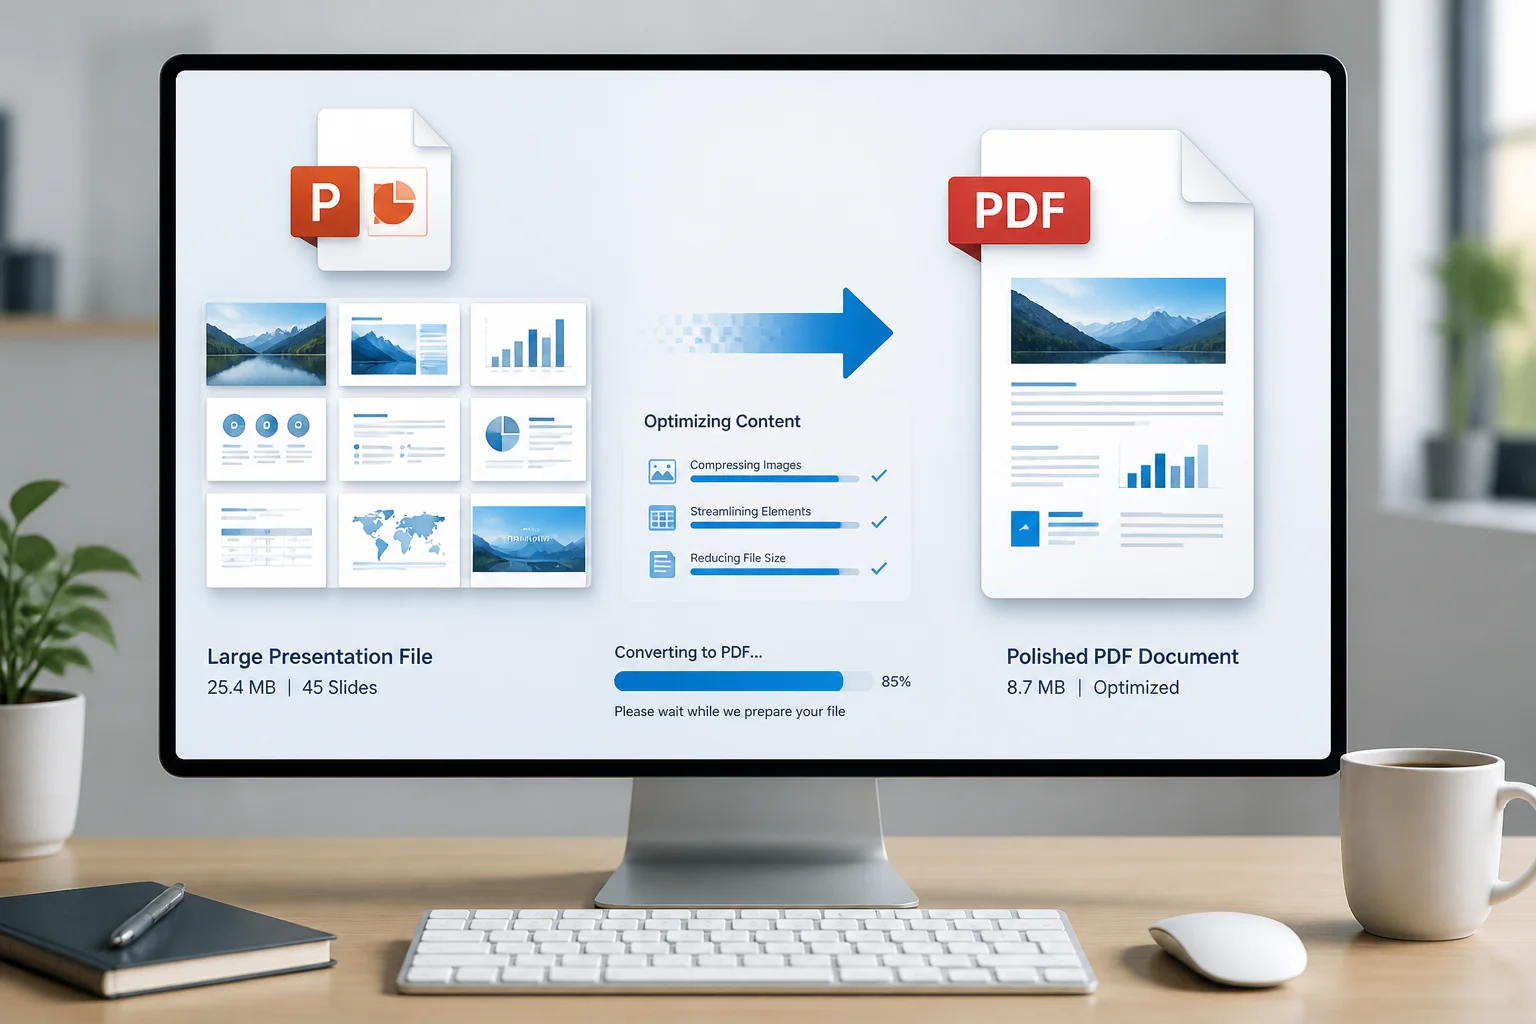
Large PowerPoint presentations can be difficult to export. A deck may contain high-resolution photos, embedded videos, audio, custom fonts, charts, animations, or many duplicate images. These elements can make the PPTX slow to open, cause export errors, or produce a PDF that is too large to upload or share.
The most reliable approach is to prepare the presentation first, then convert it using PowerPoint or an online converter. If the export fails, reduce the presentation’s size, simplify problematic content, and try again. The steps below explain how to convert a large PowerPoint to PDF without unnecessarily sacrificing readability.
Quickest way to convert a large PowerPoint to PDF
- Save a backup copy of the original PPTX before changing images, fonts, or slides.
- Remove content that the PDF cannot use, such as videos, audio, or unnecessary animations, if the final document only needs static slides.
- Compress oversized images and delete cropped image data in PowerPoint.
- Check fonts, links, charts, and slide layouts before exporting.
- Export or save the presentation as PDF.
- Open the PDF and inspect every page for missing text, changed spacing, blurry images, or incorrect page breaks.
If you do not have PowerPoint installed, you can use an online conversion method instead. See this guide to convert PowerPoint to PDF without PowerPoint.

Why large PowerPoint files cause PDF conversion problems
PowerPoint does not measure file size only by the number of slides. A short presentation can be large if it contains uncompressed photographs, embedded media, 3D objects, or several copies of the same image.
Common causes of a large PPTX include:
- High-resolution photographs pasted directly into slides
- Embedded video and audio files
- Multiple unused slide layouts or master elements
- Custom fonts that are not installed on the conversion device
- Large charts, screenshots, or scanned documents
- Hidden slides and speaker notes containing additional content
- Repeated editing that leaves unnecessary image data in the file
During conversion, the presentation must be opened, rendered, and rebuilt as PDF pages. A large or complex file can therefore take longer to process and may be more sensitive to memory, font, or compatibility problems.
Prepare the presentation before converting
Make a working copy
Keep the original presentation unchanged. Use Save As to create a working copy, because compression and media removal can be difficult to undo. If the presentation is important, keep both the original and the prepared version until the PDF has been checked.
Remove videos and audio when they are not needed
A PDF can show a slide containing a video thumbnail, but it does not preserve the full interactive presentation experience in the same way as PowerPoint. If the PDF is intended for printing, emailing, or reading, remove embedded video and audio from the working copy or replace them with a still image and a text link.
Keep a separate PowerPoint version if the audience still needs to play the media.
Delete unused slides and objects
Remove draft slides, duplicate slides, hidden material, and objects placed outside the visible slide area. Also check the slide master and layouts for large background images that are no longer required.
Reduce the PowerPoint file size
Compress pictures in PowerPoint
In the desktop PowerPoint application, select a picture and open the picture formatting tools. Use Compress Pictures, apply the change to all pictures when appropriate, and choose a resolution suitable for the final PDF.
For a presentation that will mainly be viewed on screens, a moderate screen-oriented resolution is usually more practical than keeping every original camera image at full resolution. For a document that will be printed, use a higher setting and test the result on a sample page before compressing the whole deck.
Delete cropped image data
Cropping an image in PowerPoint often hides part of the image rather than removing it. The hidden pixels can continue to increase the PPTX size. When compressing pictures, select the option to delete cropped areas if you are certain you will not need to restore them later.
Replace oversized screenshots and scans
Full-screen screenshots and scanned pages are frequent sources of unnecessary file size. Recreate them at a size appropriate for the slide, or insert a compressed copy. Avoid enlarging a small image repeatedly, because that can make the final PDF look soft without reducing the original file’s size.
Convert a large PowerPoint to PDF in PowerPoint
After preparing the file, use PowerPoint’s built-in PDF export:
- Open the working copy of the presentation.
- Choose File, then Save As or Export, depending on your version.
- Select PDF as the output format.
- Choose the intended quality, such as a standard option for sharing or a print-oriented option when available.
- Choose whether to export all slides, selected slides, handouts, notes pages, or an outline.
- Save the PDF to a location with enough available storage.
The exact labels vary between PowerPoint versions and operating systems. If the presentation is exceptionally large, export a small range of slides first. This test can reveal missing fonts, broken charts, or layout changes before you wait for the complete export.
Convert the file online when PowerPoint is unavailable
An online converter can be useful when you do not have PowerPoint or when you need a straightforward PPTX-to-PDF workflow. You can start with the site’s guide to converting PPTX to PDF online or visit the PPTX to PDF home page.
Before uploading a particularly large or sensitive presentation, check the service’s stated file-handling information, supported formats, and any applicable limits. Do not assume that every online converter accepts files of every size or preserves advanced PowerPoint features identically.
For privacy-related questions, review the site’s Privacy Policy before using an online workflow.
What to do if the conversion fails
Split the presentation into smaller sections
If the complete file will not export, make separate copies containing smaller slide ranges. Export each section, then combine the resulting PDFs with a PDF editor or another trusted document tool. This approach can also identify the slide or object causing the problem.
For example, export slides 1–20, 21–40, and 41–60. If the second section fails, test smaller groups until you locate the problematic slide.
Find damaged or incompatible objects
A single corrupted image, unusual font, chart, or embedded object can stop an otherwise normal export. Replace suspicious objects with fresh copies. You can also copy the visible content to a new blank slide, then remove the original object and test the export again.
Use common fonts
Missing or unusual fonts can change line breaks and cause text to overflow. Replace fonts that are unavailable on the conversion device with widely supported alternatives, or install the required font where permitted. After changing fonts, review titles, tables, text boxes, and footnotes because their wrapping may change.
Restart and update the application
Close other applications, restart PowerPoint, and make sure the presentation is saved locally rather than being opened from an unstable network location. If the problem continues, use a current version of PowerPoint or try a different conversion method.
How to preserve quality in the final PDF
Reducing file size should not make important text unreadable. Use these checks:
- Keep body text as editable text rather than inserting screenshots of text.
- Compress photographs, but avoid extreme compression for diagrams and small labels.
- Inspect charts and tables at normal reading size.
- Check that thin lines remain visible after export.
- Open the PDF at several zoom levels to find blurred images or missing details.
- Print one representative page if the PDF will be printed.
There is no single best quality setting for every presentation. A classroom handout, a screen-only briefing, and a professionally printed document may need different image resolutions and PDF settings.
Check links, notes, animations, and slide size
PowerPoint features do not all translate into a static PDF. Animations and transitions generally become a single still version of the slide. Embedded media may not remain playable. Speaker notes and handouts may require a specific export layout rather than the default full-slide PDF.
Review hyperlinks after export, especially links attached to images, shapes, or buttons. Also check the slide size and orientation. A presentation designed for a wide screen may look different when printed or viewed on a standard page, particularly if it contains content close to the slide edges.
How to make a large PDF easier to share
If the PDF is still too large after preparing the PowerPoint, try these options:
- Export a screen-oriented version for email or online viewing.
- Remove unnecessary pages, hidden material, and blank slides.
- Compress the PDF after export using a trusted PDF tool.
- Use separate versions for printing and digital sharing.
- Share a download link instead of attaching the file when appropriate.
Keep an uncompressed or print-quality master copy if you may need to print the presentation later. A small sharing copy should not replace the higher-quality version.
Final checklist before sending the PDF
- Open the PDF on the device or app your recipient is likely to use.
- Confirm that every slide is present and in the correct order.
- Check fonts, line breaks, bullets, symbols, and special characters.
- Inspect images, charts, tables, and logos for quality or distortion.
- Test important hyperlinks.
- Confirm that notes, handouts, or selected-slide settings were exported correctly.
- Check the final file size and filename.
- Keep the original PPTX and the prepared working copy.
Frequently asked questions
Can I convert a very large PowerPoint without reducing its quality?
Yes, but the PDF may remain large. Use the highest practical export quality, keep important diagrams and text sharp, and avoid compressing images more than necessary. For easy sharing, create a separate reduced-size copy rather than replacing the quality version.
Why is my PDF larger than the PowerPoint file?
PDF export can rebuild images, fonts, and page content in a different way. Depending on the presentation and export settings, the resulting PDF may be larger or smaller than the original PPTX.
Will videos play in the PDF?
Do not rely on a standard PDF export to preserve the full behavior of PowerPoint videos or animations. Provide the original presentation or separate media links when those features are essential.
Should I export slides or notes pages?
Choose slides when recipients need a presentation handout or visual document. Choose notes pages when the speaker notes are part of the material. Preview the output because notes-page formatting uses more space and may create a longer PDF.
Conclusion
To convert a large PowerPoint to PDF reliably, prepare the presentation before exporting: compress oversized images, remove unnecessary media, check fonts, and test a small slide range. Then export with a quality setting suited to the PDF’s purpose and inspect the finished file page by page.
If PowerPoint is unavailable, an online conversion workflow may be more convenient. For another option, compare the available PPT to PDF converter resources and choose the method that fits the file’s size, content, and privacy requirements.
Related: How to Convert PowerPoint Slides to a PDF With Bleed, Crop Marks, and Safe Margins
Related: How to Convert a PowerPoint PDF for Double-Sided Printing and Booklet Layouts