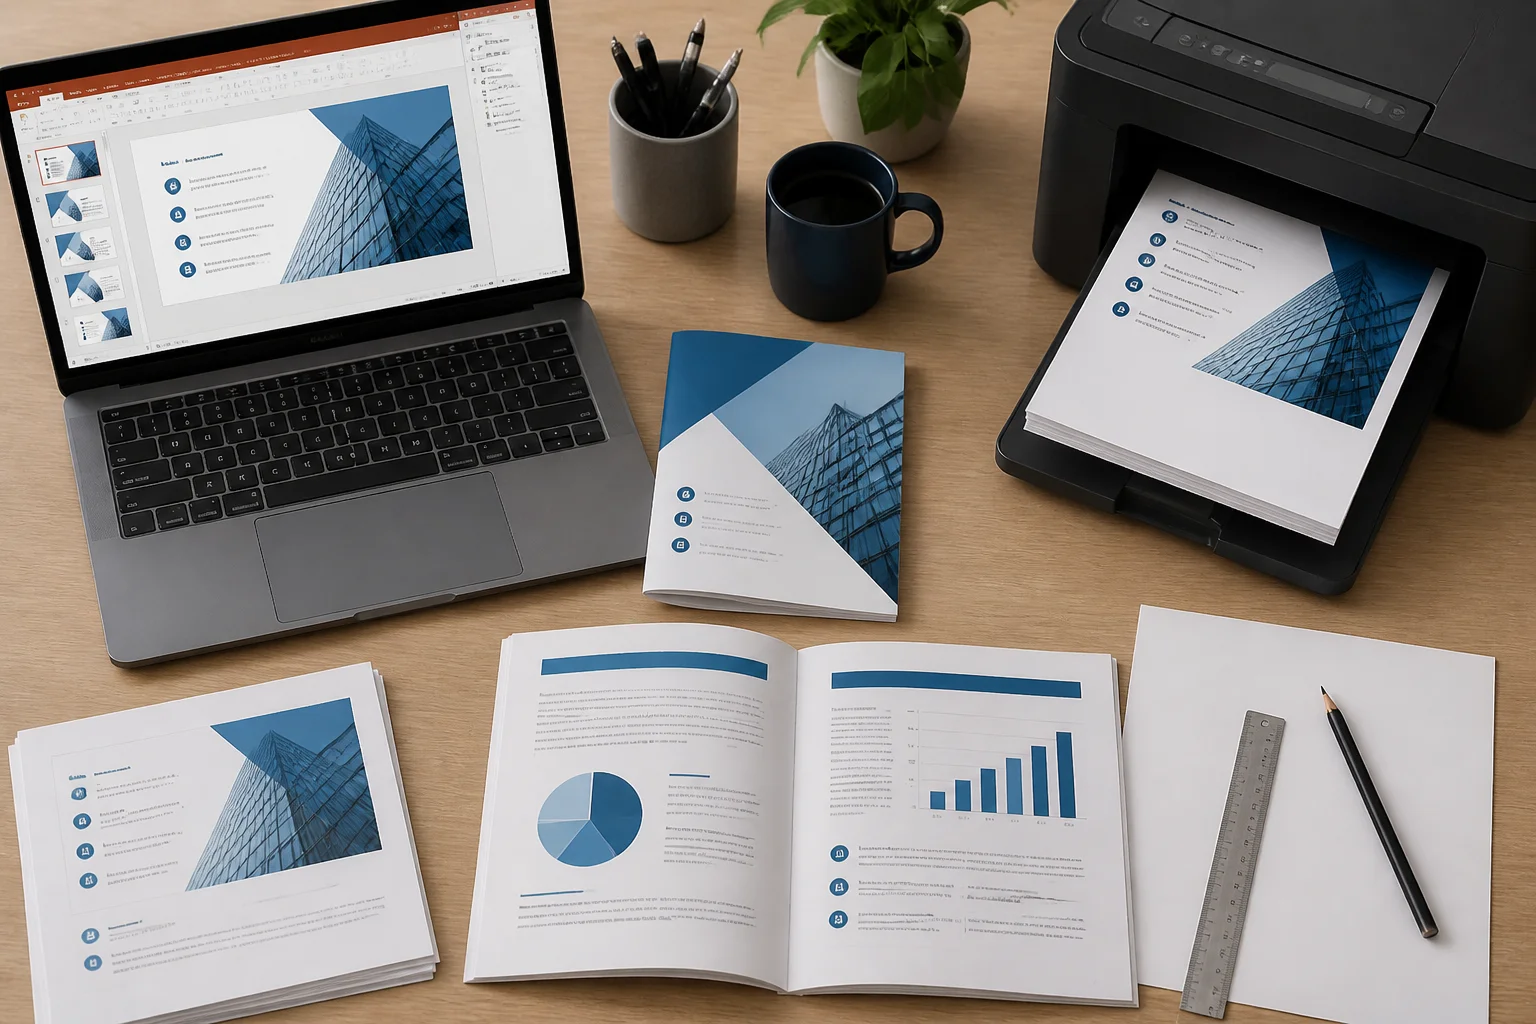
Printing a PowerPoint presentation as a handout, folded booklet, or double-sided document requires more than simply exporting the slides to PDF. The PDF must use the correct page size and layout, and the printer must be configured for duplex or booklet printing. Otherwise, pages may appear upside down, print in the wrong order, or leave important content too close to the binding edge.
The most reliable workflow is to export the presentation to PDF first, open the PDF in a print application, and then choose either double-sided or booklet printing. For a folded booklet, let the print dialog arrange the pages rather than manually rearranging slides unless your printer or PDF software requires it.
Choose between double-sided printing and booklet printing
These two options are related but not identical:
- Double-sided printing: One presentation page prints on each side of a sheet, usually in normal reading order.
- Booklet printing: Multiple pages are imposed on larger sheets so the printed sheets can be folded and read like a small book.
For example, a four-page PDF booklet normally prints page 4 beside page 1 on one side of the sheet and page 2 beside page 3 on the other side. After folding, the pages appear in numerical order. You should not create that arrangement manually in PowerPoint unless the printing software does not provide a booklet option.
Prepare the PowerPoint presentation before exporting
Review the presentation before converting it. A PDF preserves the exported page layout, so problems in the PowerPoint file usually remain visible in print.
Set an appropriate slide size
Choose a slide size that matches the intended paper or booklet format. Common choices include widescreen presentation dimensions for ordinary slides and standard paper proportions for documents designed as handouts. If the slide ratio and paper ratio differ substantially, the print dialog may add white borders or crop part of the page.
In PowerPoint, look for the slide-size controls under the design or layout settings. Select the paper orientation and dimensions before exporting. Changing the size after designing the slides can move text and objects, so inspect every slide after making this adjustment.
Keep important content away from the edges
Printers often cannot print all the way to the edge of a sheet. Leave a comfortable margin around text, page numbers, logos, and diagrams. A booklet also needs extra visual space near the fold or binding edge.
Do not rely only on the printer’s preview. A title that looks safely inside the slide boundary may still be uncomfortable to read after scaling, folding, or trimming.
Check fonts, images, and links
Before exporting, check that fonts display correctly, images are sharp, and charts or tables are not clipped. If the PDF will be distributed digitally as well as printed, test important hyperlinks after export.
For related troubleshooting, see why PowerPoint formatting can change after conversion, how to fix changing fonts, and how to keep hyperlinks working in a PDF.
Convert the PowerPoint file to PDF
Export the completed presentation as a standard PDF rather than printing directly to a physical printer during the first step. Separating conversion from printing makes it easier to inspect the file and reuse it with different printers.
- Open the finished PowerPoint presentation.
- Choose the export, save-as, or download option.
- Select PDF as the output format.
- Choose whether to export all slides or only a selected range.
- Save the PDF with a clear filename.
- Open the PDF and review its page count, orientation, margins, and content.
If Microsoft PowerPoint is not available, you can use another presentation editor or a conversion workflow. These guides may help: convert PowerPoint to PDF without Microsoft PowerPoint, convert a PowerPoint file through Google Slides, or convert PowerPoint to PDF on Linux.
How to print a PowerPoint PDF double-sided
Use these steps when each PDF page should occupy one side of a sheet in normal order.
- Open the PDF in a PDF reader.
- Choose Print.
- Select a printer that supports automatic or manual duplex printing.
- Enable Print on both sides, Duplex, or a similarly named option.
- Choose Flip on long edge for conventional portrait documents.
- Choose Flip on short edge when the page design or landscape orientation requires the reverse turning direction.
- Check the preview and print a small test first.
The long-edge versus short-edge setting determines how the back of each sheet is rotated. If the reverse side is upside down, change this option and print another test.
Which duplex setting should you use?
| Document setup | Usually try first | Common problem if incorrect |
|---|---|---|
| Portrait pages that turn like a book | Flip on long edge | Back pages appear upside down or turn incorrectly |
| Landscape pages that turn upward | Flip on short edge | Reverse side has the wrong orientation |
| Landscape pages that turn like a calendar | Flip on long edge | Pages may be rotated or bound on the wrong edge |
Printer drivers use different labels, so rely on the preview and a physical test sheet. If the printer lacks automatic duplexing, print one side, reload the pages in the correct direction, and then print the reverse side. The correct reloading direction varies by printer.
How to print a PowerPoint PDF as a folded booklet

Booklet printing is usually handled by the PDF reader or printer driver. In the print dialog, look for an option such as Booklet, Booklet layout, or Booklet printing.
- Open the PDF and select Print.
- Choose the booklet option in the page-sizing or page-layout section.
- Select Both sides if the printer supports automatic duplex printing.
- Choose the binding or reading direction, usually left binding for English-language documents.
- Set the paper size and orientation shown by the print preview.
- Print a test sheet or one complete booklet before producing the full batch.
The software should automatically place pages in booklet order. The first physical sheet may contain the final page next to the cover, while interior sheets contain other page pairs. This is expected; the pages become correctly ordered after folding.
What if the PDF has an odd number of pages?
A folded booklet works most cleanly when the total page count is a multiple of four, because each sheet contributes four booklet pages: two on the front and two on the back. If the count is not a multiple of four, the print application may add blank pages or leave unused panels.
You can accept automatically added blanks, or add clearly intentional blank pages before printing. Avoid adding random slides just to reach the required count. If a blank page is needed, place it where it makes sense, such as after the back cover or between sections.
Set paper size, scaling, and orientation carefully
Paper settings are a frequent source of unexpected results. Confirm that the paper selected in the PDF print dialog matches the paper loaded in the printer.
- Actual size: Prints at the PDF’s defined dimensions, but content may be clipped if it exceeds printable margins.
- Fit: Shrinks the page to fit the printable area and is often safer for ordinary handouts.
- Booklet scaling: Lets the booklet layout calculate how pages fit on the sheet.
- Custom scale: Useful only when you have measured the output and understand the effect on margins.
Do not enable multiple independent scaling options at once. For example, combining a printer’s “fit to page” setting with a PDF reader’s booklet scaling can make text smaller than expected. Use the preview to confirm that the page is centered and that no edge content is missing.
Test the booklet before printing the full document
A one-sheet test can reveal most setup problems. Mark the front of the test sheet with a small pencil symbol near one corner, then print both sides. Check:
- Whether the back side is upside down.
- Whether the page order is correct after folding.
- Whether the fold falls in the intended position.
- Whether text or images are too close to the inner edge.
- Whether the paper size and scaling are correct.
- Whether the printer has shifted or cropped any content.
For a longer booklet, print the complete document once on plain paper before using heavier or more expensive stock. Fold the pages and number them by hand if necessary. This is faster than discovering an ordering error after the final print run.
Common PowerPoint PDF booklet printing problems
The pages print in the wrong order
Make sure booklet mode is enabled. If you manually selected “pages per sheet” without enabling booklet arrangement, the printer may place pages left to right without accounting for folding. Also check whether the PDF reader offers a reverse-page-order option and disable it unless your printer requires it.
The back side is upside down
Change the duplex edge from long edge to short edge, or vice versa. The correct choice depends on page orientation and how the finished booklet is meant to turn.
The booklet has large white borders
This may result from the printer’s non-printable margins, a mismatch between PDF and paper size, or a slide layout that does not match the booklet sheet. Try a compatible paper size and use the print preview to compare the expected page boundary with the printable area.
Text is too small
PowerPoint slides often contain less text when shown on a screen than when printed as a small folded page. If the result is difficult to read, simplify the slide, increase the font size, use fewer slides per sheet, or print the presentation as ordinary double-sided pages instead of a booklet.
The fold does not line up with the content
Check the booklet’s page orientation, paper size, and scaling. Keep important text away from the center fold and remember that printer alignment can vary slightly. A professional folded document may also require trimming or a layout designed specifically for the finished paper size.
When to use handout pages instead of slide pages
A presentation slide is not always an effective booklet page. If the audience needs room for notes, a handout layout with two, three, or six slides per page may be more useful than full-slide booklet printing. PowerPoint’s print settings can create handout pages, which you can then export or print as a PDF.
Use full-slide booklet pages when visual impact matters or when each slide contains a small amount of readable content. Use handout layouts when the document is primarily for reference, note-taking, or classroom distribution. If you only need part of a presentation, first create a PDF containing selected slides using this guide to converting selected PowerPoint slides.
Final checklist for PowerPoint PDF booklet printing
- Review the presentation at the intended printed size.
- Export the file to PDF and inspect every page.
- Confirm the PDF page count and orientation.
- Use booklet mode for folded documents rather than ordinary pages-per-sheet printing.
- Choose the correct duplex edge.
- Match the PDF, print dialog, and loaded paper sizes.
- Keep important content away from edges and folds.
- Check whether the page count requires blank booklet pages.
- Print and fold a test copy before the full run.
Once the PDF has been checked, the same file can be reused for different printers or shared digitally. If the source presentation is unusually large, see how to convert a large PowerPoint file to PDF. The key is to treat conversion, page design, and printer setup as separate steps: export a clean PDF, verify its layout, and let the print dialog impose the pages for double-sided or booklet output.
Related: How to Compare Two Versions of a PowerPoint PDF for Content and Layout Changes
Related: How to Prepare a PowerPoint PDF for a Translation or Localization Team
Related: PowerPoint PDF Export vs Print to PDF: Which Preserves More Features?
Related: How to Deliver a PowerPoint PDF for Both Screen Viewing and Printing
1 thought on “How to Convert a PowerPoint PDF for Double-Sided Printing and Booklet Layouts”